 |
| What's behind there? |
Your pristine Cabriolet has a secret. It's not obvious to the naked eye, but it's been hiding for decades. And, worst of all, it's causing corrosion. The heinous secret I'm talking about is all forms of dirt, sand, leaves and rocks that are quietly accumulating inside your fenders.
 |
| Clean, but ugly |
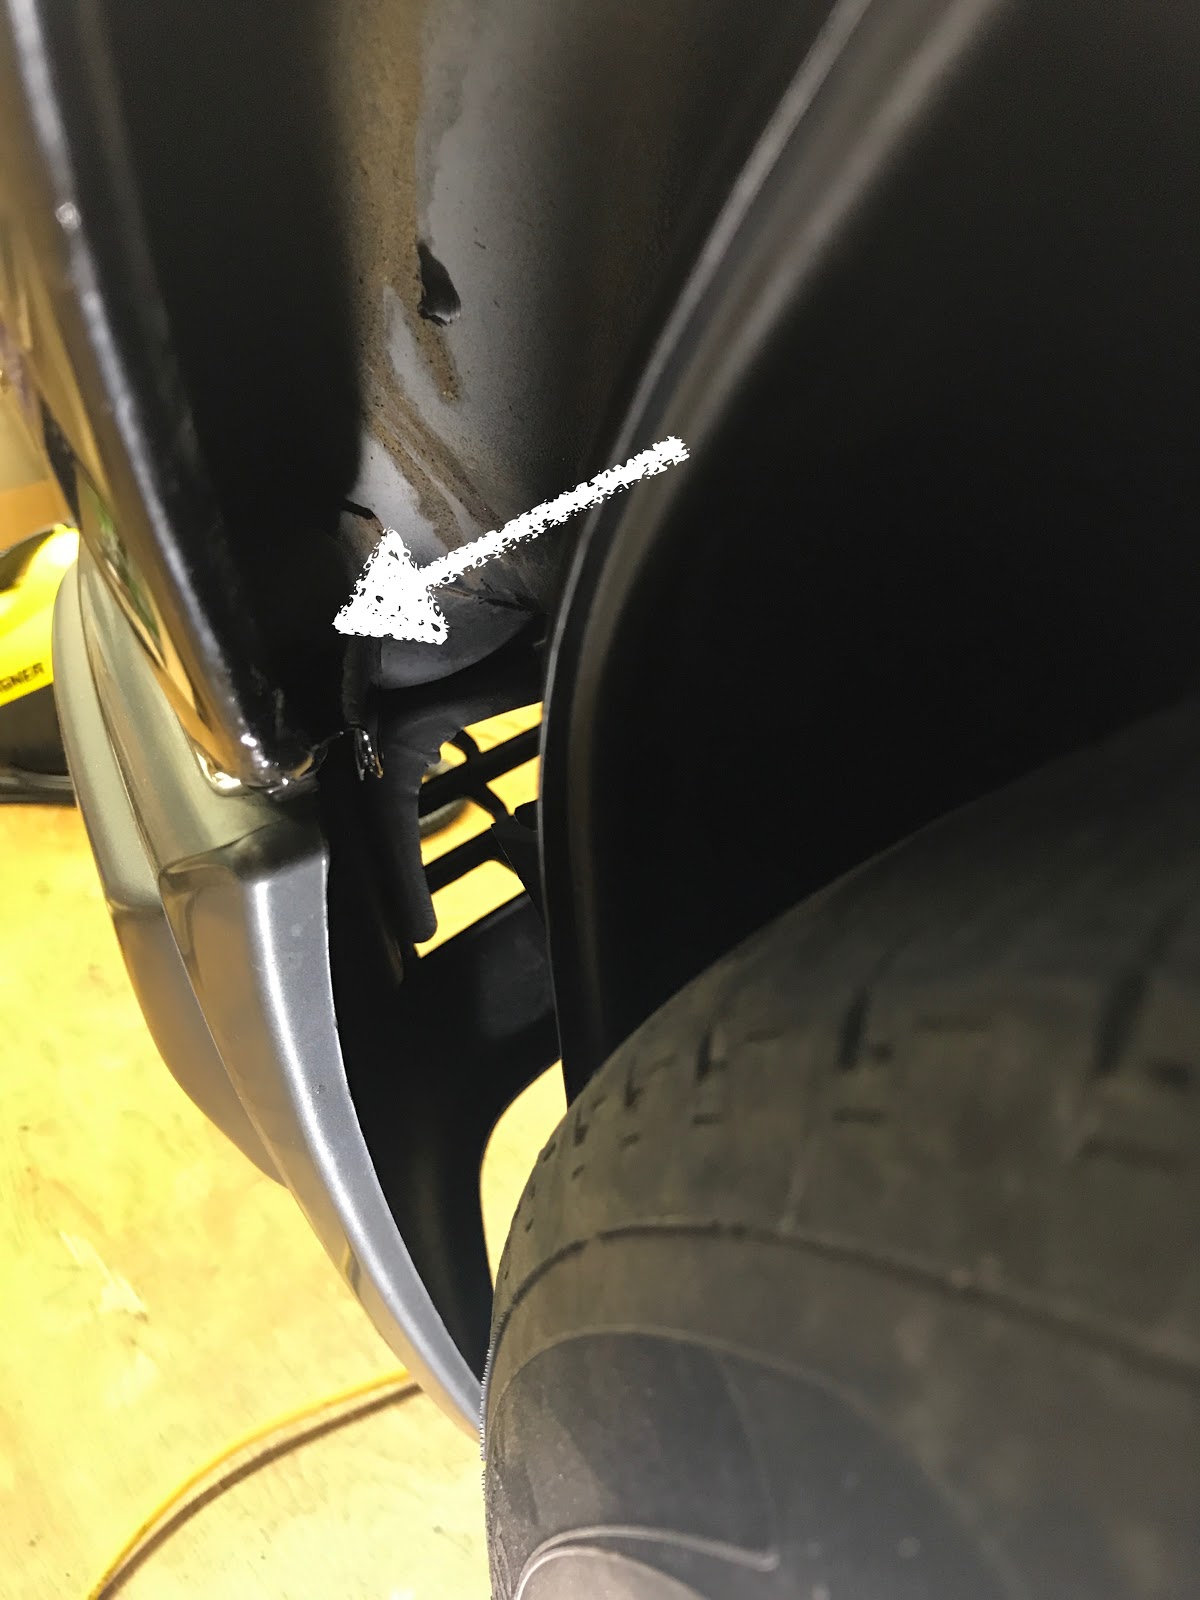
This accumulation is an inescapable fact of Cabriolet ownership based on a tendency to throw up road debris and, unfortunately, store it in two places. The first is in front of the front wheels along the side of the bumper where it meets the fender. It's a ledge located on the inside of the fender exactly where you would expect dirt to sit. To make matters worse though, the fender liner helps trap dirt there. It's plastic there, but it's also a dirt trap that's sandwiched between the plastic liner and the metal inner ledge on the fender. Awful design.
The other debris-prone area is behind the front wheel. It's right where you'd expect gravity to put anything while driving. It's right at the bottom of the fender directly above the rocker panel where dirt and water splash up while driving.
 |
| Note ledge/dirt trap |
Initially, I took on the task of removing my fender liners to clean them up and to repaint them. The factory black paint had eroded over the years from decades of abrasion to the point where they were now grey plastic and not the satin black they were originally. (A close inspection of each liner revealed that the inner fenders are painted in body color. To be more exact, the wheel wells and the fender liner are finished in the exact same color as the rest of the body. In my case, that's 040 Black. As further proof, I also have a spare pair of fender liners from a 904 Blue Cabriolet.)
Removing the liner is a straightforward procedure. A 10mm wrench applied to a few bolts and one 8mm socket wrench at the bottom. It only takes a few minutes.
I took the dirty plastic fender liner out, scrubbed it with Simple Green and a wheel brush, then removed any last vestiges of paint with a citrus cleaner and Scotch-Brite pad. Once the liner was clean, I gave it a final going-over with some alcohol to remove any grease, then painted it with 3 coats of satin black (semi-gloss) Rustoleum. (One coat with a brush and two coats from a spray can.)
 |
Fender liners: Before & After
|
The procedure is straightforward, but you'll need a few extra tools to be thorough:
- vacuum cleaner with crevice tool (to suck up anything behind the fender)
- small wire or hard bristle brush (for misc cleaning inside the fender)
- POR 15 black paint (to treat any corrosion found)
- cup of white vinegar (to clean bolts and screws)


Clearly what you don't CAN hurt.
ReplyDeleteI just bought a '95 E320 Cabriolet and need some interior parts. Any recommendations?
ReplyDeleteEnjoying the blog very much.